How to Shape and Style Your Beard Like a Professional Barber
There is a visible difference between a beard that is simply grown and a beard that is shaped. You have seen it on the street, at the office, or scrolling through your feed. Some men have beards that look intentional, defined, and sharp. Others have beards that look like they just stopped shaving and hoped for the best. The difference is not genetics or beard density. It is shaping and styling.
Professional barbers spend years learning how to read face shapes, create clean lines, and build symmetry into a beard. But here is what they will not always tell you: the fundamentals are not that complicated. With the right tools, the right products, and a clear understanding of the technique, you can achieve professional-level beard shaping at home.
This guide is going to walk you through the complete process from start to finish. We will cover the tools you need, how to determine your ideal beard shape, how to create and maintain clean lines, and how to use styling products to keep everything locked in throughout the day. By the end of this article, you will have the knowledge and confidence to shape your beard like someone who does this for a living.
The Essential Tools for Beard Shaping
Before you touch a single hair on your face, you need to have the right equipment. Trying to shape a beard with inadequate tools is like trying to paint a portrait with a house brush. You might get something on the canvas, but it will not be what you had in mind.
A Quality Beard Trimmer with Multiple Guard Lengths
This is your primary shaping tool. Invest in a trimmer with adjustable guard lengths from 1mm to at least 15mm. A precision trimmer or detail trimmer is also valuable for cleaning up edges and creating sharp lines around the cheeks and neckline. Look for a trimmer with a powerful motor that will not snag or pull on thicker facial hair.
Beard Scissors
Scissors give you a level of precision that trimmers cannot match. They are essential for trimming individual stray hairs that stick out beyond your beard’s natural shape, evening out areas where hair grows at different rates, and doing fine detail work around the mustache and lip line. Use sharp, dedicated beard scissors with a comfortable grip, not the pair from your kitchen drawer.
A Professional-Grade Beard Comb
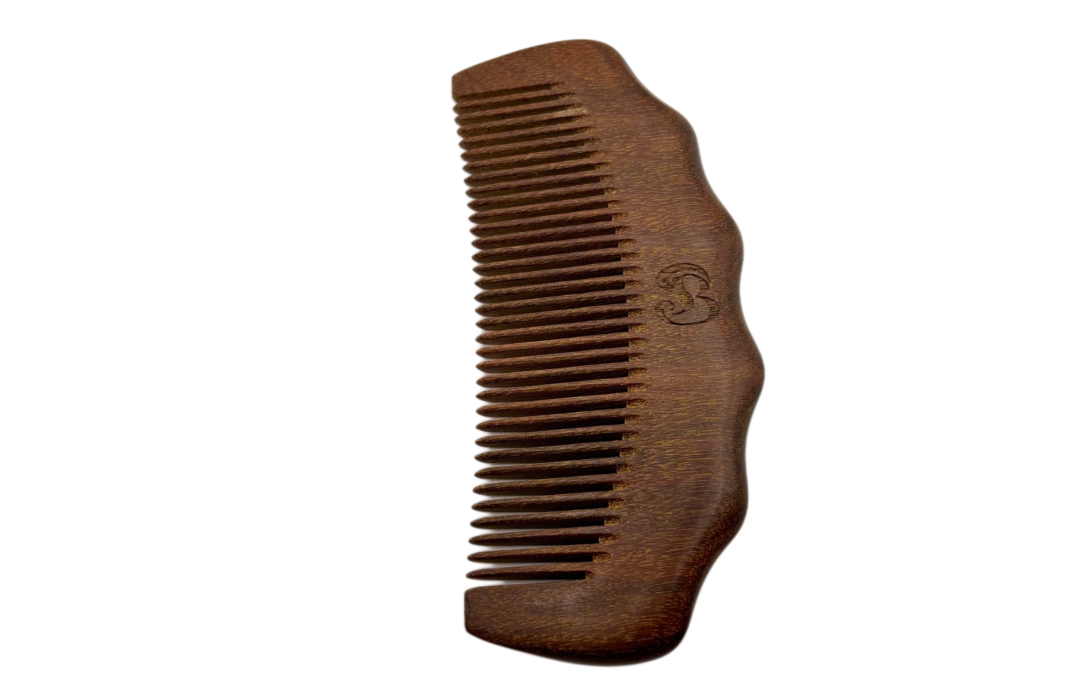
A good comb is arguably the most important shaping tool in your arsenal. It serves as a guide for your trimmer, helps you identify uneven areas, and distributes product evenly through the beard. The SickBeard Beard Comb ($12.99) is engineered specifically for this purpose, with teeth spacing that glides through all beard textures without pulling or catching.
For men who prefer a more compact tool that travels well and fits naturally in the hand during shaping sessions, the SickBeard Knuckle Beard Comb ($12.99) provides the same smooth, snag-free performance in a design that gives you maximum control during detail work. Many barbers prefer a knuckle-style comb because it allows for more precise manipulation of smaller sections of the beard.
A Straight Razor or Safety Razor
For the crispest possible cheek lines and necklines, nothing matches a blade. A straight razor in skilled hands produces the cleanest edge, but a safety razor is more forgiving for beginners and still delivers excellent results. You will use this to clean up the areas outside your desired beard shape.
A Handheld Mirror
You need to see the sides and underside of your beard from angles that a wall mirror does not provide. A small handheld mirror, used in combination with your bathroom mirror, lets you check symmetry, neckline placement, and side profile from every angle.
Understanding Face Shapes and Beard Styles
Professional barbers do not apply the same beard shape to every client. They read the face first and then choose a beard shape that complements the natural bone structure. You should do the same.
Oval Face Shape
An oval face is slightly longer than it is wide, with balanced proportions and a gently rounded jawline. This is considered the most versatile face shape for beard styling because almost any beard shape works well. If you have an oval face, your primary goal is to maintain that natural balance. A medium-length beard with moderate fullness on the sides and a naturally tapered bottom works exceptionally well. Avoid going excessively long or heavy on the sides, which can disrupt the proportional harmony.
Round Face Shape
A round face has roughly equal width and length, with soft, curved features and a less defined jawline. The goal with a round face is to create the illusion of length and angularity. Keep the sides trimmed shorter and allow more length at the chin and bottom of the beard. This elongates the face visually and creates the appearance of a stronger jawline. A well-shaped goatee or ducktail style can work particularly well for round faces.
Square Face Shape
A square face features a strong, angular jawline with a forehead and jaw that are roughly the same width. The key is to work with that natural structure without making the face appear boxy. Keep the beard slightly fuller on the chin to add some length, and round the corners slightly where the beard meets the jawline. A clean, well-defined cheek line that follows the natural cheekbone enhances the structured look without making it feel rigid.
Oblong or Rectangular Face Shape
An oblong face is noticeably longer than it is wide, with a tall forehead and elongated chin. The beard strategy here is the opposite of a round face: you want to add width rather than length. Keep the sides fuller and the bottom shorter. Avoid pointed or excessively long chin styles that would exaggerate the vertical proportions. A full, uniformly trimmed beard at moderate length adds the width that balances an oblong face.
Heart or Triangle Face Shape
A heart-shaped face features a wider forehead and cheekbone area that narrows to a pointed chin. The goal is to add visual weight to the lower portion of the face. A fuller beard with volume at the jawline and chin balances the wider upper face. Keep the cheek lines natural rather than aggressively defined, as clean, high cheek lines can emphasize the taper that you are trying to counterbalance.
The Step-by-Step Beard Shaping Process
Now that you know your tools and your face shape, here is the actual shaping process, broken down into the same sequence a professional barber would follow.
Step 1: Start Clean and Dry
Always shape your beard when it is clean and completely dry. Wet hair hangs differently than dry hair, appearing longer and straighter. If you shape your beard while it is wet, you will cut it shorter than intended, and it will look uneven once it dries and the natural texture returns. Wash your beard, dry it thoroughly, and comb it out before you begin.
Step 2: Comb Everything Into Place
Using your beard comb, comb your entire beard in the direction of natural growth. Start at the sideburns and work down to the chin, then comb the mustache to the sides and down. This reveals the true length and shape of your beard, exposes any uneven areas, and helps you identify stray hairs that extend beyond the natural silhouette.
Take a moment to study your beard in the mirror. Look at it from the front, both sides, and below using your handheld mirror. Identify which areas are longer, which are thinner, and where the natural shape needs refinement.
Step 3: Define Your Neckline
The neckline is where most men make their biggest mistake. An improperly placed neckline can ruin an otherwise great beard. It either looks unnaturally high, creating a strap-like appearance that seems disconnected from the neck, or it extends too far down, giving a disheveled, unkempt look.
Here is the barber’s rule for neckline placement: place two fingers above your Adam’s apple. The point where your top finger rests is approximately where your neckline should be at its lowest point. From there, the neckline should curve upward and back, following the natural crease where the underside of your jaw meets your neck, ending just behind the jawbone below each ear.
The neckline should be a gentle, natural curve, not a straight horizontal line. A straight-across neckline looks artificial and creates an unflattering visual when viewed from the side. Follow the natural contour of your jaw for a result that looks intentional but not forced.
Use your trimmer without a guard or your razor to clean up everything below this line. Work slowly, checking both sides frequently in the mirror to ensure symmetry. It is far easier to remove a little more than to wait for hair to grow back after cutting too high.
Step 4: Establish Your Cheek Line
The cheek line is the upper boundary of your beard on each side of your face. There are two schools of thought on cheek lines, and the right approach depends on your natural growth pattern and personal preference.
Natural cheek line: If your beard grows in a clean, relatively consistent line across your cheeks, the best approach is often to leave it natural. Simply clean up any stray hairs that grow above the main line, creating a tidy border without imposing an artificial shape. This approach looks the most effortless and authentic.
Defined cheek line: If your natural growth is scattered or uneven across the cheeks, creating a deliberate line produces a cleaner result. Use your comb as a guide, laying it from the bottom of your sideburn to the corner of your mustache, and trim everything above that line. Start conservatively. You can always take the line lower if needed, but you cannot put hair back once it is gone.
Whichever approach you choose, ensure both sides are symmetrical. Use your handheld mirror to compare the left and right cheek lines from the same angle. Even small asymmetries are noticeable at conversational distance.
Step 5: Shape the Sides
The sides of your beard bridge the gap between your sideburns and your chin. For most beard shapes, you want the sides to taper gradually from shorter near the ear to fuller as you approach the chin. This creates a natural-looking gradient that guides the eye downward and prevents the beard from appearing boxy or uniformly dense.
Start with a longer guard on your trimmer and work down gradually. Trim the area just in front of and below the ear first, using a guard length that is one or two settings shorter than the rest of your beard. Blend this into the full length as you move toward the chin, switching to progressively longer guards. The transition should be gradual and imperceptible, not a hard line between two distinct lengths.
Use your comb to lift the hair away from the face as you trim. This gives you a more accurate view of the length you are cutting and helps you maintain consistency across the surface.
Step 6: Shape the Bottom and Chin
The bottom of the beard is where your chosen style really comes to life. Whether you are going for a rounded natural shape, a pointed ducktail, a squared-off look, or anything in between, this is where the distinctive character of your beard is established.
For a rounded bottom, use your trimmer with scissors to create a gentle, even curve from jawline to jawline. For a more angular or pointed bottom, allow more length at the center of the chin and gradually shorten as you move toward the sides.
Work slowly and check your progress frequently. Use your handheld mirror to view the profile from each side. The chin is the focal point of your beard, and asymmetry here is the first thing people notice.
Step 7: Trim the Mustache
The mustache requires its own attention. Comb the mustache hairs straight down over the lip. Using your beard scissors, trim along the lip line, removing any hairs that extend over the edge of the upper lip. The goal is a clean line that follows the natural curve of your lip without exposing too much of the lip itself.
For the sides of the mustache where it blends into the beard, use your scissors to create a seamless transition. There should be no visible gap or hard line between the mustache and the rest of the beard.
Step 8: Detail Work and Stray Hairs
With the major shaping complete, step back from the mirror and look at the overall silhouette. Identify any individual hairs that stick out beyond the desired shape, whether they are longer than surrounding hair or growing in a different direction. Use your scissors to snip these individually. Do not go back over the entire beard with the trimmer at this stage. That is how you end up over-trimming and losing the shape you just created.
Styling Your Beard After Shaping
Shaping gives your beard its structure. Styling keeps it there throughout the day. This is where the right products make all the difference between a beard that looks great at 8 AM and one that still looks great at 8 PM.
Step 1: Apply Beard Oil as Your Base
Immediately after shaping, or as part of your daily morning routine, apply SickBeard Beard Oil ($14.99) to provide the moisture foundation your beard needs. The lanolin in our formula does more than hydrate. It softens the hair shaft, making it more pliable and responsive to styling. A well-moisturized beard holds its shape far better than a dry, brittle one that is constantly trying to spring in every direction.
Warm the oil between your palms and work it into the skin beneath your beard first, then distribute it through the hair from root to tip. This ensures the skin stays healthy, the hair stays soft, and you have an even base layer of moisture throughout.
Step 2: Apply Beard Balm for Hold and Shape
Once your oil has absorbed for a minute or two, apply SickBeard Beard Balm ($17.99). The balm serves a dual purpose: it provides additional conditioning from its lanolin content, and it delivers the light hold you need to keep your shaped beard in place throughout the day.
Scrape a small amount of balm with the back of your thumbnail, about a dime-sized amount for a medium beard, and warm it between your palms until it becomes fluid. Apply it by smoothing your palms along the sides of your beard in a downward motion, then work it through the front and bottom. Use your palms and fingers to press the beard into the shape you want, smoothing down flyaways and encouraging the hair to lie in the desired direction.
Step 3: Comb Into Final Position
With both oil and balm applied, use your SickBeard Beard Comb ($12.99) or Knuckle Beard Comb ($12.99) to make the final passes. Comb the sides downward, the chin area in the direction of your chosen style, and the mustache to each side. The comb distributes the product evenly, removes any clumps, and trains the hair into position.
This three-step product application, oil, balm, comb, is the same sequence many professional barbers use after a beard trim. It delivers comprehensive moisture, reliable hold, and a polished finish that lasts.
Alternative: Beard Pudding for a Simplified Routine
If you prefer a streamlined approach, SickBeard Beard Pudding (coming soon) combines moisturizing and styling in a single product. Apply it after your shaping session in place of separate oil and balm. It provides enough moisture for daily conditioning and enough hold to maintain your shape. This is an excellent option for men with shorter to medium-length beards who want professional results without a multi-product routine.
Common Beard Shaping Mistakes and How to Avoid Them
Mistake 1: Trimming While Wet
We mentioned this earlier, but it bears repeating because it is the single most common shaping mistake. Wet beard hair can appear 15 to 30 percent longer than its dry length. Trim it wet and you will end up significantly shorter than intended. Always shape your beard when it is completely dry.
Mistake 2: Starting Too Short
Always begin with a longer guard length than you think you need. You can always remove more, but you cannot add hair back. Start one or two guard settings longer than your target length and work down gradually. This gives you room to make adjustments without going too short.
Mistake 3: Placing the Neckline Too High
A neckline that sits at or above the jawline creates the dreaded chinstrap look. It makes the beard appear thin, disconnected from the neck, and unnaturally groomed. Remember the two-finger rule: two fingers above the Adam’s apple, curving naturally along the jaw. When in doubt, err on the side of going lower. A slightly low neckline looks far more natural than one that is too high.
Mistake 4: Obsessing Over Perfect Symmetry
No face is perfectly symmetrical, and no beard needs to be either. Spending excessive time trying to make both sides identical often leads to progressive over-trimming, where you keep taking a little more off each side trying to match the other. Get both sides close and move on. At normal conversational distance, minor differences are invisible.
Mistake 5: Neglecting the Mustache
The mustache is the frame for your mouth and a central visual element of your beard. An untrimmed mustache that hangs over the lip or grows into the corners of the mouth undermines even the best-shaped beard. Dedicate time to trimming and grooming the mustache as its own element, not just as an afterthought.
Mistake 6: Shaping Without Product
Trying to evaluate your beard’s shape without product in it is like trying to judge a hairstyle before it is dried and styled. Your beard will look and hang differently once you apply oil and balm. While you should trim and shape on dry, product-free hair for accuracy, make sure to apply product afterward and do a final check. If minor adjustments are needed after styling, make them with scissors rather than the trimmer.
Maintaining Your Shape Between Sessions
A great beard shape is not something you set and forget. Facial hair grows at approximately half an inch per month, and it does not all grow at the same rate. Some areas fill in faster than others, and stray hairs constantly appear outside your defined lines.
For most beard styles, plan a light maintenance session every three to five days. This does not mean reshaping from scratch. It means cleaning up the neckline and cheek line with your razor or trimmer, snipping any stray hairs that have grown beyond the silhouette, and checking symmetry. This five-minute touch-up keeps your beard looking sharp between full shaping sessions.
Full shaping sessions, where you reassess the overall length, taper the sides, and refine the bottom shape, should happen every two to four weeks depending on how fast your hair grows and how precise you want the shape to be.
Between sessions, your daily product routine is what keeps the shape looking intentional. A well-moisturized, properly styled beard holds its shape throughout the day and looks groomed even as it grows. This is where the quality of your products matters most. Cheap oils and balms that wear off by midmorning leave your beard to its own devices for the rest of the day. The lanolin-based formulations in SickBeard products are built to hold moisture all day, keeping your beard styled and comfortable from morning until night.
When to Visit a Professional
There is no shame in getting professional help, especially when you are first establishing your beard shape. A skilled barber can assess your face shape, recommend the most flattering beard style, and create the initial shape that you then maintain at home. Think of it as getting the blueprint drawn by an architect before you start the ongoing construction yourself.
If you are growing your beard out from scratch, consider visiting a barber at the two-month mark to establish your shape, and then again at the four to six month mark as additional length changes how the beard hangs and what shapes are possible. After that, most men can maintain their shape at home with the techniques described in this guide.
Your Professional-Looking Beard Starts Today
Shaping and styling a beard is a skill, and like any skill, it improves with practice. The first time you shape your own beard, it will probably take longer than expected and might not be perfect. That is normal. By the third or fourth session, you will have developed the muscle memory and visual intuition to shape confidently and efficiently.
The foundation of a great-looking beard is not just technique. It is also the products you use daily to keep the hair healthy, soft, and manageable. SickBeard products are carefully formulated with lanolin oil, made in Oregon with premium ingredients, and backed by a 30-day money-back guarantee. From our Beard Oil and Beard Balm to our precision-engineered Beard Combs, every product is designed to help your beard look and feel its absolute best.
Ready to take your beard to the next level? Visit the SickBeard shop and equip yourself with the tools and products that make professional beard care possible at home.